Table of Contents
- Why Documenting Roof Maintenance Matters
- Start With a Roof Inspection Checklist
- Build a Roof Maintenance Log Template
- Photo Documentation Standards for Every Inspection
- Write a Roof Inspection Report That Holds Up
- Keep Roof Repair Documentation and Records Organized
- Prioritize Findings and Track Corrective Actions
- Frequently Asked Questions
Last Updated: October 19, 2026
Why Documenting Roof Maintenance Matters
A roof maintenance record is a dated written history of every inspection, repair, and treatment performed on a roof. It turns vague memory into proof you can hand to an insurer, a buyer, or a contractor, a difference we see at Roof Revive LLC when a carrier questions the age or condition of an asphalt shingle roof.
Most homeowners never build this file. They call someone when a stain appears, then scramble for receipts that were never kept.
That gap costs money. A documented maintenance history shows a property owner took preventive steps and supports claims, warranty work, and resale talks. Here is how to document roof maintenance from first inspection through final follow-up.
Start With a Roof Inspection Checklist
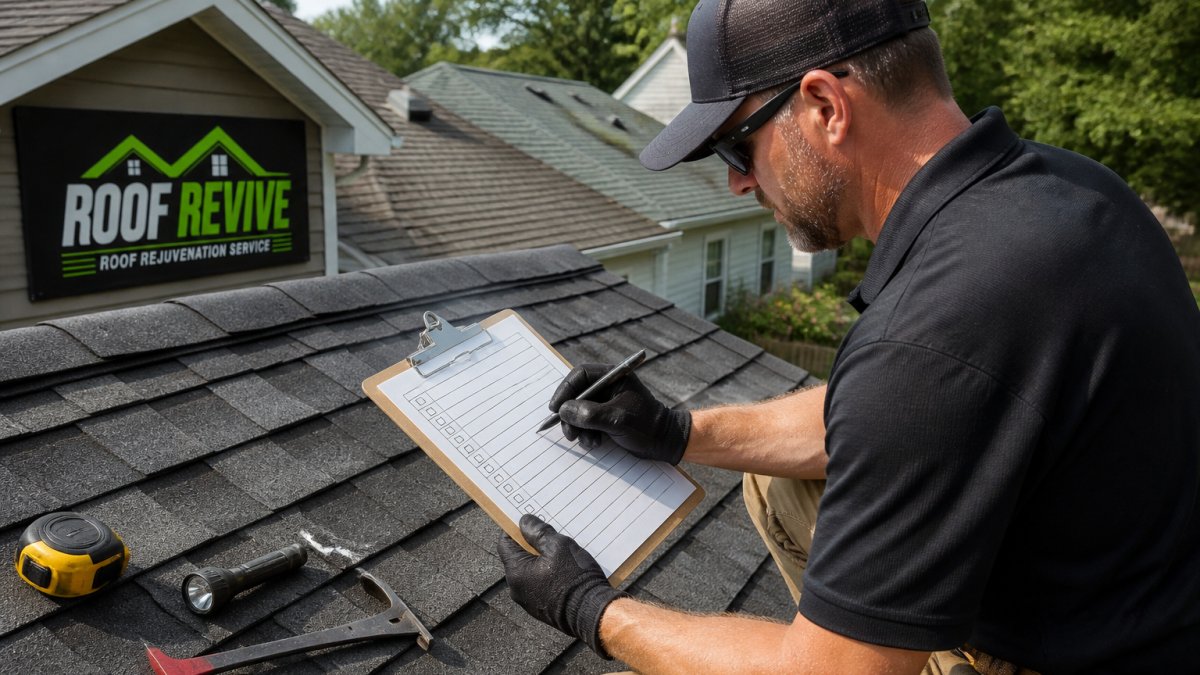
A roof inspection checklist is a fixed list of items you check every time, in the same order, so nothing gets skipped. It is the backbone of every roof maintenance log template you will build later. Walk the roof twice a year and after any major storm, using the same list so you can compare results.
Exterior Checks: Surface, Flashing, and Drainage
Start outside and work in one direction. Note the roof surface, roofing materials, and any change since the last visit.
- Cracked, curling, or missing shingles
- Bald spots where granules have worn away
- Loose or lifted flashing around chimneys and vents
Flashing and roof penetrations cause a large share of leaks. Check them closely, not just the open field of shingles.
Interior Checks: Ceilings, Attic, and Water Stains
Go inside next. Interior signs often show up before exterior damage is obvious.
- Water stains on ceilings or upper walls
- Dark rings that grow after rain
- Sagging drywall or bubbling paint
Photograph anything you find. A water stain with a date beside it tells a far better story than a stain alone.
Build a Roof Maintenance Log Template
A roof maintenance log template is a simple table capturing what was checked, when, by whom, and what was found. Keep it short enough that you will actually fill it in, but complete enough that a stranger could read it six years from now. Most homeowners fail here for one of two reasons: the log is so detailed they abandon it after two visits, or so vague it proves nothing.
The Columns That Matter
Every log needs the same core fields, in the same order, so entries stay comparable across years:
- Date, the day of the inspection, written as YYYY-MM-DD so files sort correctly.
- Inspector, full name and, if a contractor, the company and license or registration number where your state requires one.
- Area checked, use a consistent location label, such as "south slope," "north valley," "chimney flashing," or "attic, north side." The same label must mean the same place every time.
Add a second tab for repair history: date, contractor, work performed, materials used, permit number, invoice number, and warranty reference. Keep scanned invoices and permits in the same folder. This is the record that proves maintenance history when you need it.
A Completed Sample Entry
A blank template teaches nothing. Here is what a filled-in row looks like, using the same columns:
| Date | Inspector | Area Checked | Finding | Severity | Action Taken | Follow-Up Date | Photo Ref |
|---|---|---|---|---|---|---|---|
| 2026-04-12 | J. Doe (owner) | South slope, shingles | Granule loss near ridge, about 3 ft; no exposed mat | Medium | Photos taken, marked for monitoring | 2026-10-12 | 2026-04-12-south-slope-01.jpg |
| 2026-04-12 | J. Doe (owner) | Gutters, front | Debris buildup at downspout | Low | Cleared by hand | 2026-10-12 | 2026-04-12-gutter-front-01.jpg |
| 2026-04-12 | J. Doe (owner) | Attic, north side | Small water stain, roughly 6 in, dry at inspection | High | Called contractor; appointment set | 2026-05-01 | 2026-04-12-attic-north-01.jpg |
Notice what the sample does that a vague note does not: it states a size, a location, and whether the condition was active or dry, names the follow-up date, and points to a specific photo file. Any of those details could matter later in a warranty discussion or claim review.
Keep the Log Usable
- Fill in the log the same day as the inspection. Details fade fast.
- Never delete an old row. If a finding was resolved, add a new row referencing the original date.
- Keep one master log per property; never mix buildings.
Photo Documentation Standards for Every Inspection
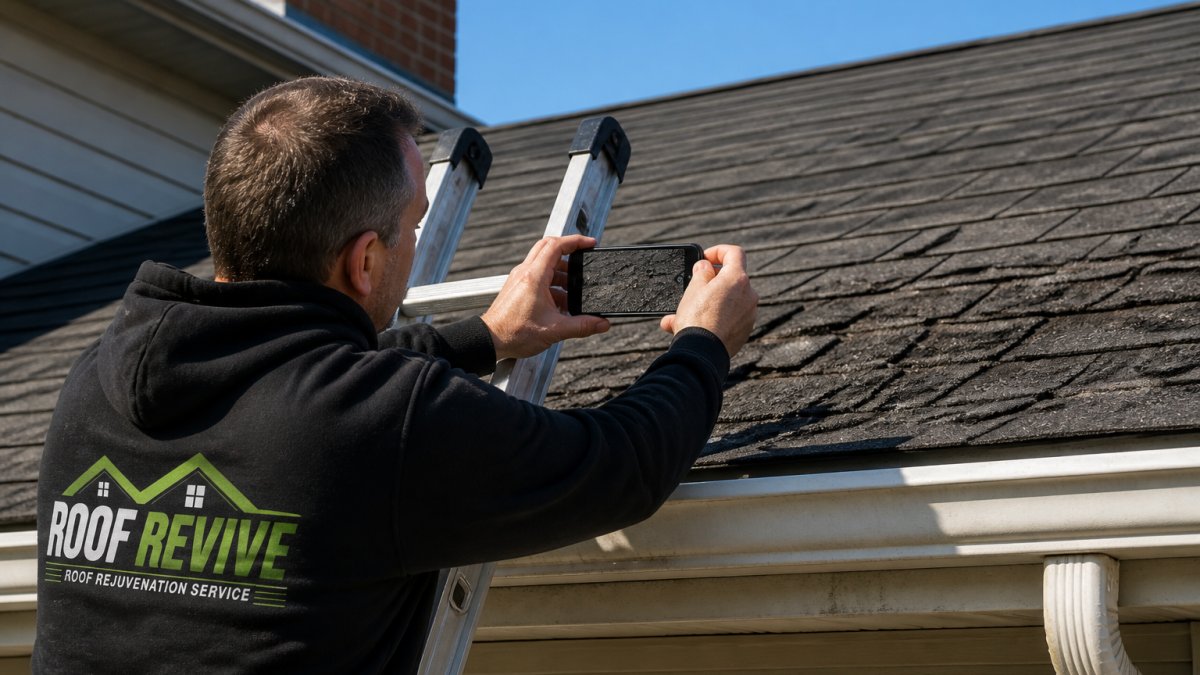
Photos are the strongest part of any roof inspection report, but only if they follow a standard. A random camera roll helps nobody six months later, because a close-up of worn shingles with no context could be any roof on any street.
Set Repeatable Viewpoints
Before your first inspection, walk the roof and pick four to eight fixed viewpoints for a typical single-family roof. Name them and write the names in your log. A workable set looks like this:
- Wide overview, front, taken from the same spot on the ground each time, showing the full front slope and roofline.
- Wide overview, rear, same idea from the back.
- Each slope, mid-range, one shot per slope from a consistent position, showing the field of shingles.
Mark the ground viewpoints with a small stake or a phone note so you can find them again, next year's wide shot should line up with this year's so the difference is obvious.
Shoot Wide First, Then Close
For every finding, take at least two images: a wide shot showing where you are on the roof and a close shot showing the detail. The wide shot is the map; the close shot is the evidence. A close-up alone is nearly useless because nobody can tell where it was taken. Include a reference object whenever you can, a vent, chimney, ridge line, or downspout, to anchor the image to a real place on the roof.
Add Scale
Size is one of the first things a reader will want to know, and a photo without scale cannot answer it. Place a tape measure, coin, or marked card next to the defect before you shoot; failing that, hold a pen or your hand in the frame and note in the log that it was used for scale.
Label and Name Every File
Use a naming convention that puts the date first, then the location, then a sequence number:
2026-04-12-south-slope-01.jpg
That format sorts chronologically in any file browser and tells you what the image shows before you open it. Never leave the camera's default name in place. In your log, caption each photo with what it shows and why it matters, "lifted flashing, chimney base, active" does more than a hundred unlabeled images, and link the caption to the file name so the log and photo folder stay in sync.
Store and Back Up
- Keep originals in one folder per inspection, named by date.
- Back the folder up to cloud storage the same day.
- Do not edit or crop originals; save marked-up versions as copies with
-markedadded to the name.
Write a Roof Inspection Report That Holds Up
A roof inspection report turns your notes and photos into a record others can rely on, and it should stand on its own if you hand it to an insurer or a buyer. Keep it to one page per inspection:
- Property address and inspection date
- Inspector name and method used
- Areas checked and areas not accessed
- Findings, each with a severity rating
- Photos referenced by file name
- Recommended corrective actions with target dates
- Signature and date
State what you could not see. If you did not access the attic, say so. Honest limits make the rest of the report more credible, not less.
The Insurance Institute for Business & Home Safety publishes guidance on roof condition and storm damage that can help you describe findings in terms carriers recognize.
Keep Roof Repair Documentation and Records Organized
Roof repair documentation only helps if you can find it. Build one folder structure and use it for every property.
- /Property address
- /Inspections (one subfolder per date)
- /Photos
- /Repair invoices
- /Permits and warranties
- /Insurance correspondence
Name every file with a date first. Scan paper invoices the day you get them.
If you own rental property, this same structure works across multiple buildings. Give each property its own folder and you will never mix up records again.
Prioritize Findings and Track Corrective Actions
A list of problems is not a plan. Sort every finding by severity so you fix the urgent items first and schedule the rest.
| Severity | What It Means | Typical Response |
|---|---|---|
| High | Active leak or structural risk | Repair now, document immediately |
| Medium | Wear that will worsen | Schedule within the season |
| Low | Cosmetic or minor | Monitor at next inspection |
Track each corrective action with an owner and a due date. Close the loop by recording the repair, the invoice, and a follow-up photo in the same file, then set the next inspection date on your calendar.
For roofs showing wear but no failure, a restoration treatment can extend service life and add a documented maintenance event to the file.
Frequently Asked Questions
What should I include in a roof maintenance log?
A roof maintenance log should record the date of every inspection, who performed it, the roof's overall condition, and any findings such as granule loss, flashing wear, or debris buildup. Add dated photographs, repair recommendations, and the cost and outcome of any work completed. Keep material information, permits, and warranty paperwork with the log so the full maintenance history stays in one place. A consistent log makes future inspections faster and gives you proof of routine maintenance if an insurance carrier or buyer asks.
How long should I keep roof inspection and repair records?
Keep roof inspection reports, repair invoices, and photographs for the life of the roof, plus several years after any sale of the property. Warranties often run for years, and insurance carriers may request maintenance history when a claim or renewal is reviewed. Store digital copies in a backed-up folder organized by date so records survive a move or a lost paper file. If you sell the home, pass the full maintenance history to the buyer as part of the transaction.
How do I document roof repairs for an insurance claim?
Photograph the damage before any repair, then photograph the completed work from the same angles. Save the contractor's invoice, the scope of work, material information, and any permits with your roof repair documentation. Note the date, the cause if known, and the cost in your maintenance log. A clear roof inspection report paired with dated photos and receipts gives your carrier a complete record and reduces back-and-forth during claim review.
How often should I inspect and document my roof?
Inspect at least twice a year, in spring and fall, and after any major storm. Coastal areas with salt air and heavy weather benefit from more frequent checks because wear and tear accelerates. Each inspection should produce updated notes, dated photographs, and a fresh entry in your roof maintenance log. Consistent seasonal inspection records show a pattern of preventive maintenance, which matters when you file a claim or renew coverage.
Documenting roof maintenance takes a few hours a year, but it protects the largest single investment most homeowners make. The challenge is starting, and keeping the file current once the novelty wears off. Roof Revive LLC makes that easier with a free inspection, drone and satellite measurements for an accurate assessment, and full photo documentation you can hand straight to your insurer. Book your free inspection and get a dated record that works as hard as your roof does.